Sunday, January 9, 2011

patternmaking . . .

I just love patterns!  I have accumulated quite a few and I estimate that I have actually used about 1% of them.  I guess it's for lack of time.  Most of the patterns I have are for making clothes for me and with all the other sewing that goes on in this house, there's just not much time left over for me.  Alas, the life of a mom.

I am working on a shirt patterns for the boys.  I have a pants pattern for my 4-year-old that has been used more than any other pattern, but it's a little big and I can never get the adjustments quite right (because I don't record them, I sure).  So I've decided to make my own patterns that fit them exactly right . . . until the next growth spurt, I guess.

So that's what I'm up to right now . . . and it's really fun!

Saturday, January 8, 2011

and Lucy's present . . . a new bed pillow


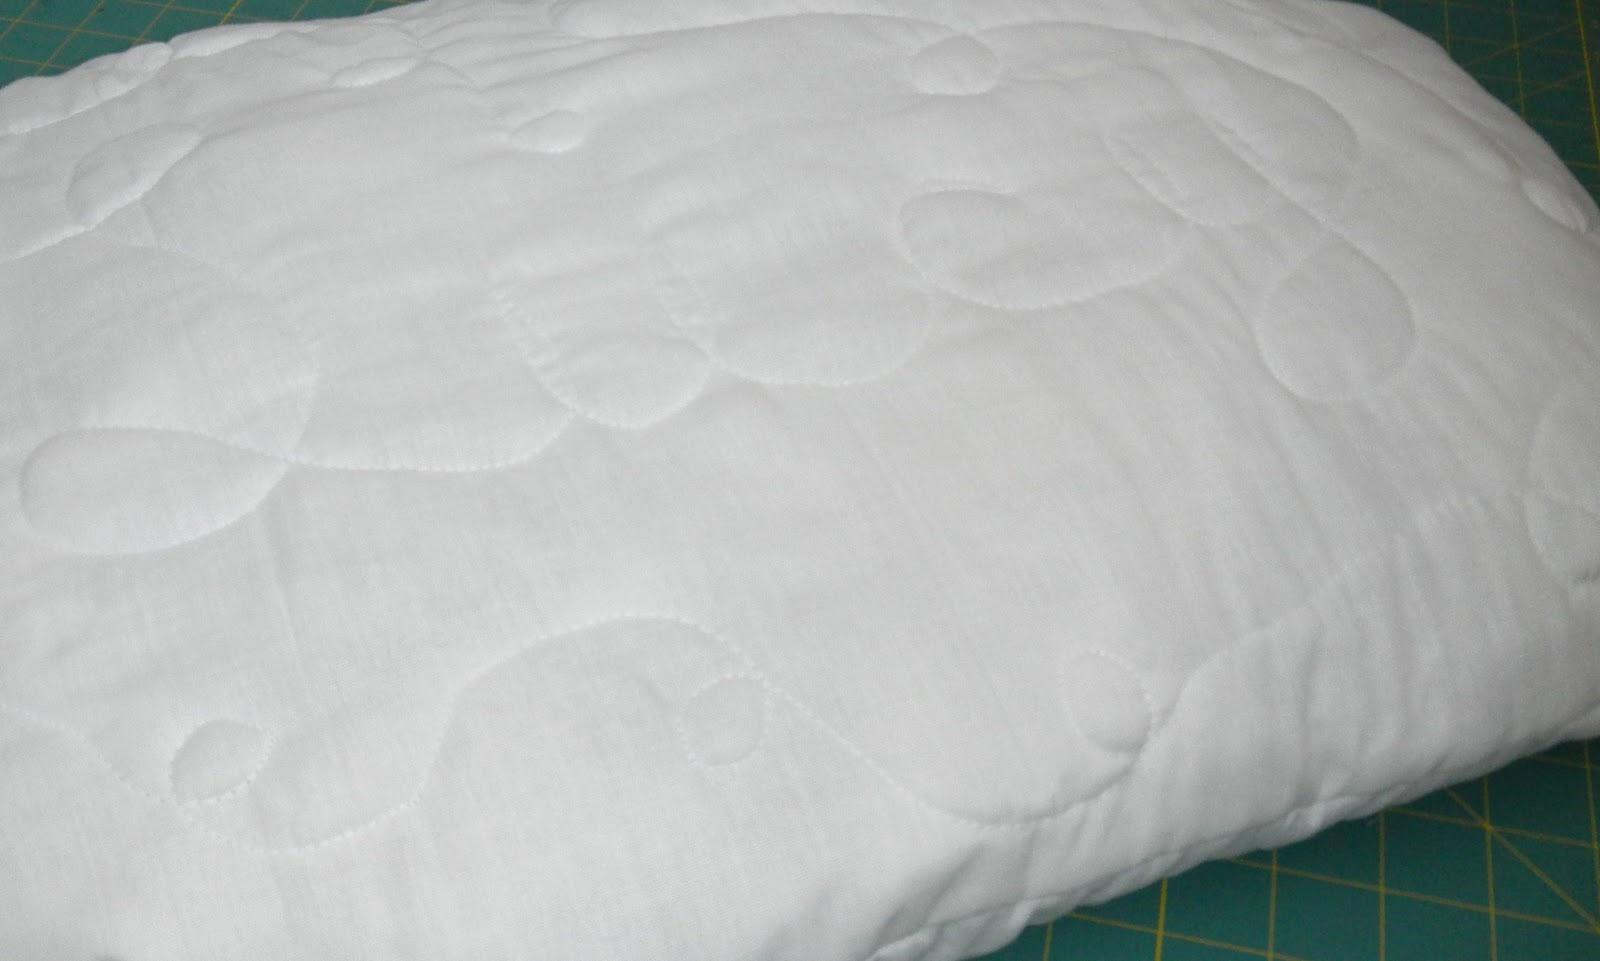
This is Lucy's Christmas present.  A little late.  She needed a new pillow for her bed because the other pillow was scratched and worn.  I was hoping that the original bed pillow was an actual pillow with a cover so I could just make a new cover, but it wasn't.  It was a cover filled with fiber-fill.

So I scrapped that idea and made an actual pillow to allow me to just make a new case next time.  I used some extra sheeting (I used polyester/cotton blend white sheets that I picked up from Ikea...these are not very pretty and they feel rough to the touch but a twin set costs $5 and I use them as lining for my pillow covers).  I lined the pillow cover with batting and quilted the layers a little to ensure the batting does not shift.


My favorite part of this entire pillow is how I stuffed it.  I didn't have any foam and I didn't want to use fiber-fill.  So I dumped my entire tin full of waste fabric into the pillow instead!  I read a tip once to save those non-usuable selvedges and tiny thin scrap pieces as filling for boxes when shipping fragile goods.  So I have been saving for over a year . . . but I don't ship fragile goods.  So I decided to fill this pillow with them.  It's a little rougher and bumpier than I would like my pillows to be, but for a dog it works great.  Lucy's first choice for a place to sleep is bundled clothing, so this is like the next best thing.  And I got to use my entire tin!

I bought this dog print fleece as a remnant and, of course, it wasn't wide enough.  So I added these grey fleece stripes which ended up being more trouble and not really worth it.  Next time, I will just cut the fabric in half and let there be a seam down the middle.  This bed sits under an end table with at least 7 blankets, so I doubt anyone but me will notice the new cover.


My mom made Lucy this blanket when she was about one year old.  So we've had it for almost 8 years now. .See how it puts her right to sleep?  We both love it.  The flannel on the back is starting to wear but it shows how much Lucy uses it.  I will keep this blanket forever.

Sunday, January 2, 2011

bird patch quilt


I made this quilt for my mom for Christmas.  I feel really bad because this is the first quilt that I made her and I don't think it's anything special.  Although she would say that anything handmade by me is special, I just can't get myself to think this one is great.


I struggled with the design.  I made nine-patch squares and cut them apart for a crazy nine-patch look.  But I'm not sure the pattern is necessarily the problem.  I'm not sure these prints work together.  I like most of them separately but not together.


Sometimes, this is just the way things work out.

But I really, really like the purple color that I choose for the filler.  I originally purchased a cream color to go with the green but went back for something else.  I'm much happier with this color because it adds more interesting color.

And I like the embroidered owl and bird, but now that it's done I wish I would have added a few more birds side by side.  One looks a little lonely.  I used my new Cricut to cut a paper template for these (cutting the fabric directly didn't work for me).


For the back, I used this cupcake, cherry, apple print which is really cute but doesn't belong in this quilt.


I like really do like the green tiny polka-dot print for the binding but, again, not on this quilt.  I like the binding to stand out, but this one just blends in, except for that strip of light green binding that I added for extra character.


So for this quilt I tried blending a few separate, bold prints together and it didn't really work.  But I did design it myself and it's not a complete distaster.  It's still usable as a warm blanket, and it does give the eye something interesting to look at.

And it keeps the legs warm while playing the ukelele.

Saturday, January 1, 2011

my 2011 crafty resolutions

1. Spend less time thinking.  Spend more time doing. 

We all love to buy fabric, but I've found that I spend more time trying to find the perfect project for my fabric that I often get nothing done.  I need push aside the urge to find "the" project and just start making something.  I'm not even sure the perfect project actually exists for any fabric.

This goes for my stash of old clothes, too.  I keep some of them to make clothes for the kids, but they sit and sit while I think of the perfect project.  I need to just cut into them and see where it goes.

I spent a lot of 2010 searching for the perfect size pattern for each of the boys.  I would know the fit that I was looking for, but couldn't find the right pattern.  Instead of just cutting up the fabric and adjusting as necessary even if it meant scrapping that one and trying again, I would just do nothing.

So I'm keeping it simple this year with just one goal: stop thinking and just begin.

Thursday, December 30, 2010

blossom handbag for my sister


This is my Christmas gift to my sister. We love ourselves some bags! And now she has a new one to sport.

I used Amy Butler's free pattern from her new Style Stiches book which I downloaded from SewMamaSew a few months ago. Man, real bags have a ton more steps than when I just make things up in my head. This bag took me 3 nights! But when you do it properly--line with interfacing, add heavy duty Peltex, and include all the details that make this bag stand out--the time really adds up. But it's worth it.

This was my first venture with magnetic clasps. I had no idea that they were so easy to install. The one I bought for this bag was on clearance and it came with no instructions, but I thought I would need a special tool or hammer or something. But I didn't need anything but muscles to close the prongs.


And I still did it wrong. I didn't realize until the bag was completely assembled and waiting to be wrapped that the little discs that, I thought, had unattached themselves from the back of the clasps because they were cheap and therefore cheaply made were actually planned to unattach so they could fit over the prongs on the other side of the fabric. So the prongs wouldn't tear through the fabric when opening the bag flap over and over. I was really mad about that. No one will notice . . . maybe not even my sister, but it, of course, still bothers me.


Regardless of this mistake, the bag is still really pretty. I like these large prints. To save time (and because I ran out of fabric) I decided not to include the dividers. I think the dividers would help the bag keep its shape better, not to mention add more organization, but it looks good without them, too.

Merry Christmas, Laura!


Helping with the photo shoot . . .


Tired of helping with the photo shoot . . .
 

Wednesday, December 29, 2010

rooster fabric basket


I loved these baskets so much that I decided to make one for my mother-in-law. But wanted to make it bigger. I also changed the look in a few different ways.

Notice the tab-type handles that I secured with a button instead of the loop-type handles in the other baskets.


I also decided not to roll the lining over the front edge of the baskets this time. I went with the more conventional hole-in-the-lining method so the front and lining fabrics matched up at the top. The only downside to this method, in my opinion, is sewing the lining closed. I prefer to handstitch the lining closed for a much cleaner look, and it's not hard . . . it just takes more time.

This basket measures 12 inches long by 6 inches wide and 8 inches tall. The perfect size to fit another gift: handspun merino wool from Debbie B that I purchased from her Etsy shop. This earth tone is fantastically beautiful! I can't wait to see what it turns into.


I really, really like this rooster print. A little modern country, I think. As usual, I have extra to make myself a little something.

Monday, December 27, 2010

fabric baskets for teachers


I wanted to make Logan's preschool teachers a gift for Christmas. Do non-family members appreciate handmade items? I should probably research that before I continue to make personalized items for people who are not required to like what I make.

Anyway, I decided to make them baskets. I just love baskets! They are versitile and beautiful and they can be carried (note the handles) and placed anywhere. And I think these are just the right size. They came out around 8 inches long by 4 inches wide and 4.5 inches tall.

The best part about the construction of these baskets is that the lining is pulled over the outside of the basket to create the top trim. This means that I don't have to leave a hole in the lining and then handstitch the hole closed later. This pleases me. I just think my way is less complicated and involves fewer steps.


I made 3 bags. Logan, apparently, has only 2 teachers. He insisted he had 3. But of course it all works out because now I have an excuse to keep one!

Thursday, December 16, 2010

fabric basket. or bag.

In my first attempt to make some fabric baskets for the preschool teachers, I came up with this.


Not what I had in mind.  Not bad, just not what I envisioned.

I wanted more of a looks-like-it-needs-to-be-carried-with-two-hands kind of basket . . . long and low.  I haven't made too many bags, so I'm still getting the hang of adding dimensions for boxed corners.  I didn't make the bag width wide enough so I ended up with a small basket-sort-of-bag.


The dimensions for this bag are 7 inches long by 3 inches wide by 7 inches tall.  I was going for something longer and not as tall.

Because this bag is lined with thick polyester batting, it stands by itself.  So it will make a nice little basket bag for some lightweight items.  This would also be really great with a magnetic clasp for a cute makeup bag.

Tuesday, December 14, 2010

{harry potter} pj's


No, this isn't another post about the winter hat I made for Logan.  This post is about the pants.

To liven up a solid black pant, I cut out lightning bolts from the black fleece (a leftover thoughtfully donated by my mother-in-law) and sewed orange to the inside.  I think they turned out really great, so Logan's radical response surprised me:

I don't like them.  I'm gonna have bad dreams!

About what, you ask?  I still don't know.  I think about Harry Potter.  Harry is one of my favorite characters and if you frequent abcfamily you know that these movies are on all. the. time.  So he catches parts of them and, regretfully, has seen parts of the dvd's on the rare occasion that I have found the time to watch them.  If you don't know anything about the Potter series, it get darker as the series progresses so what is borderline appropriate for a 4-year-old in the first two movies quickly turns to highly scary, and apparently nightmare-producing, in subsequent films.  So the lightning bolts were initially not a crowd pleaser.


But once he was reminded that disney's Bolt and Lightning McQueen both sport super sweet lightning bolts, he at least smiled and stood still long enough for me to try them on him.

And once he figured out these pajamas were nearly snow proof after falling twice while taking the dog for a walk, he was hooked.

Wednesday, December 8, 2010

new winter hats


The boys have one hat each.  Well, I'm sure there are more, but they each only recognize one as their own.  So when either goes missing, we can't leave the house.  I decided to take advantage of a sale at JoAnn's and make them each a cute new hat.

I got the idea and general direction from Made By Rae.  I didn't use her dimensions.  I made my pattern by tracing Logan's only hat because it already has well-placed ear flaps.  But that one is knitted so it has more stretch than the fleece hat.  I didn't take this into account, so Logan's hat is a little snug.  It pulls away from his ears a little, but that is easily remedied by adding a chin strap if necessary.


The only seam is in the back which is different than how Rae made hers.  Either one is good, but cutting on the fold means fewer seems to sew!  I think he loves it.  The hub made a comment about the hat not matching his coat, but JoAnn's has limited older-boy fabric.  I really like this print.  And in my defense, his other hat doesn't match his coat either.


Trenton's hat was made from the same pattern, but I measured his head first for a better fit.  It fits really well.  He was not at all as excited at first as I was, but I think he forgot about the hat after we walked outside.


This was the first real snow since we moved to pa.  It didn't stay long, but the picnic table had enough to play with.