Friday, June 24, 2011

a row of baby shoes :: another baby shower gift

I am told cloth baby shoes are all the rage right now.  I wouldn't know much about baby rages (my kids are out of the baby stage), but I do agree that cloth baby shoes are absolutely adorable. I also consider myself a practical person, so I waivered on these because of how impractical baby shoes really are.


But when you are using your own sweat and tears (and not spending $30+ a pair), practicality goes out the window.  And you have to admit that these are totally worth the gamble.

I purchased the Cameron Baby Sneakers pattern from SewingWithMe7 on Etsy.  This shoe pattern is about the only one I could find for boys.  I think this pattern could be used for either gender, but it's not overly girly like a lot of others.  This pattern is just plain cool!  The pattern sizes included in the purchase range from 0-3 months to 18-24 months . . . a really large range if you ask me, so I could make all kinds of shoes for kids up to 2 years old.  I used the 3-6 month size for these.

Since we are expecting twin nephews in the next couple of months, I had to go with 4 pairs of shoes.  I really don't think that's enough, but these tiny objects are surprisingly time-consuming.  My speed improved toward the end, but there is so little room for error.

I pretty much followed the pattern to the letter except for the closures.  I think the pattern uses velcro which I used for one pair, but I tried to mix it up a little.  I also used a neutral linen for the sole to make them look a little more like shoes.

A brownish-green pair with constrast stitching and snap closures . . .


A blue striped pair with a loop and button closure . . .


A green print pair with orange contrast stitching and velcro closures . . .


And a brownish-yellow plaid pair with loop and yellow button closures (my personal favorite) . . .


I think these turned out pretty neat.  And my sister-in-law was very pleased with them.  I hope these keep tiny feet warm because they will definitely keep them stylish.

Wednesday, June 22, 2011

mommy I cracked my arm


Yep.  Two fractured bones.  This little guy fell off a moon bounce slide at camp yesterday and fractured both lower arm bones in his left arm.  Poor little man.  But don't let him fool you.  He was just being silly in the photo above.  He usually looks like this even with a broken arm.


The emergency room didn't have any kid-sized arm slings, so they gave him an adult small that, after some finagling, was wearable for his 5-year-old arm.  But who would deny me the chance to sew something better when I see the need.  Certainly not this guy.  He was all in.


I spent 2 hours last night while he was sleeping constructing this sling.  I made the strap adjustable because I didn't know exactly where his arm would fall.  I lined both the sling and the strap with quilt batting and added a layer of light blue fleece to the inside for extra softness and warmth . . . not that he can feel anything with that arm or that his arm would get cold in the middle of summer.


While I was telling the grandparents over the phone about the broken bones, Logan commented that I shouldn't say that the bones are broken because it makes him think that something fell off his arm.  To be fully correct I should say that he cracked his arm.  As you wish, my dear.

Tuesday, June 21, 2011

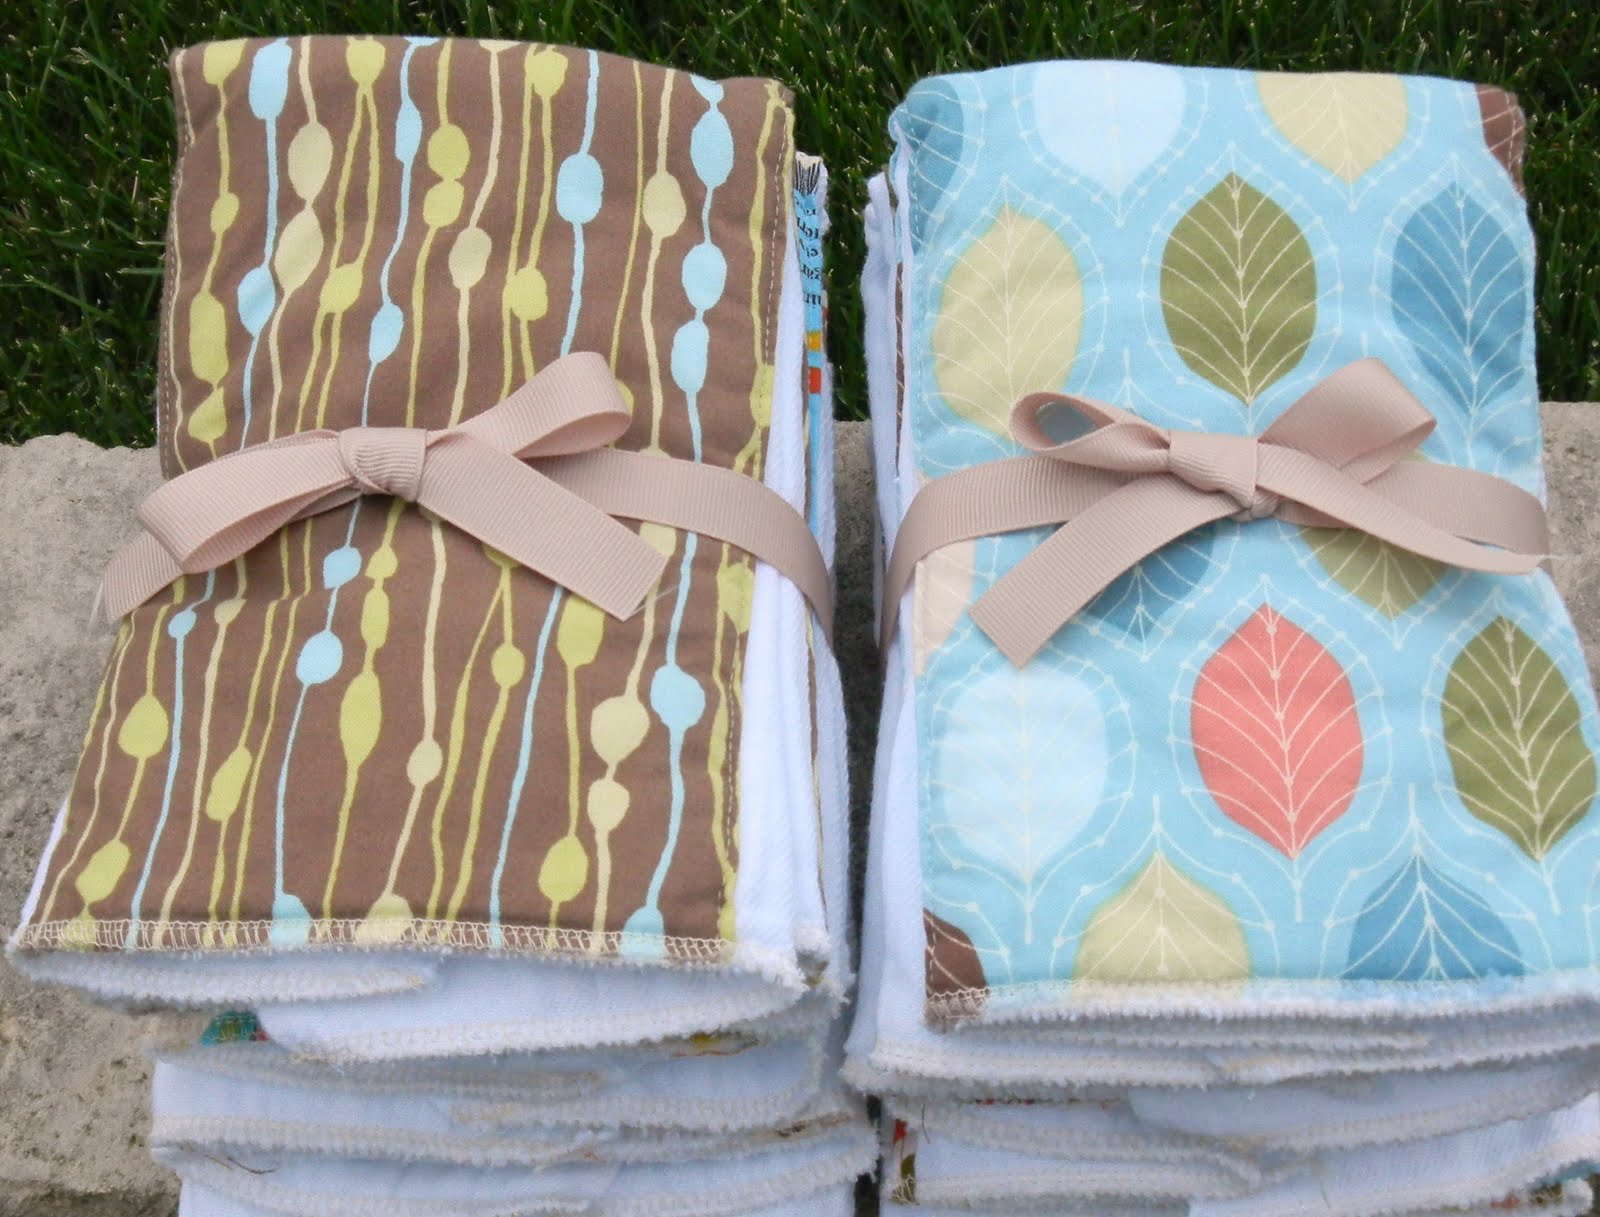
baby shower gift :: simple burp cloths

These burp cloths make excellent baby shower gifts.


I've seen this tutorial everywhere, like here and here.  I originally thought it was just too simple to give as a baby shower gift, but then I realized that many people don't realize how little effort these require.   Plus, they use very little fabric, so they are both inexpensive and a potential scrap buster.


Pieces of fabric are sewn to the middle of commerical tri-fold burp cloths.  I bought mine at Target: 12 for $17.  From quarter-yard pieces of fabric, I cut 6-inch wide pieces.  So my fabric pieces ended up about 17 or 18 inches by 6 inches.  Then I turned under the long side seams 1/2 inch, ironed the seams and pinned the fabric to the middle of the unfolded burp cloth (the long way).  Then I sewed the two pieces together close to the long edge of the fabric.

To finish the short edges, I serged them across the entire cloth.  These are as quick to make as you are hoping they are.  I had 8 done in about an hour or so.  This pile is for a set of two little nephews arriving soon, so I tried to keep the fabrics boyish (or at least gender-neutral).

Sunday, April 24, 2011

chic & simple jacket


I tackled a pattern came from this book by Christine Haynes for a birthday gift for my sister.

Chic & Simple Sewing by Christine Haynes: Book Cover

This book contains some really great patterns.  Most of the designs do not have fitted elements so this book would be good for beginners, too, but be warned that the instructions have very few illustrations.  Many of the designs have a rectangular body and use a tie around the waste to "fit" the garment.  And I have never seen so many hip and modern designs in one book.  Just about every one of these designs is on my to-do list.


A few things I really like about this jacket:
  1. The raglan sleeves.  I have mentioned before that I love raglan sleeves, particularly on little boys.  I don't get much a chance to add them on my own clothing, so this was a nice change.  And I love how much easier they are to sew on than a set in sleeve.
  2. The sleeve length.  The photo in the book shows these sleeves a little longer.  I think it's because the jacket in the book uses a cotton fabric without a lining and turns the sleeve hem under 1/4 inch twice.  I used a different seam allowance, so my sleeves turned out a little shorter.  But I do like 3/4 length sleeves for springwear.
  3. The jacket length.  I am picky about my jackets being just the right length.  I think this length is pretty good.
  4. The bias tape. I used a neat bluish-green fabric with different colored dots. I love this fabric. I also (surprisingly) did a pretty good job attaching the bias tape.
  5. The gray cordoroy.  I just love cordoroy.  Especially gray.
  6. The tie.  It's a fun element.


I added a lining to the jacket.  The pattern in the book does not have a lining.  I wanted my jacket to have more weight, so I added a lining.  My original intention was to use the bias fabric for the lining, but my brain must have been taking a break when I bought the fabric because I only bought 1 yard.  So I had enough to line the sleeves and that was it.  I bought 3 yards of cordoroy and that was enough for outside and front and back parts of the lining.


I think it's a little inconvenient to have a tie without a way to keep it in place if you have to untie it.  So I added belt loops to each side.


Some things I would change next time:
  1. The sleeve pattern.  There isn't enough ease in the armpit.  This jacket is intended to be worn in the fall probably over a very light, fitted shirt.  In that case, the ease is okay.  But I would add a little extra room in the pit so I can comfortably wear the jacket over thicker shirts, too.
  2. I wish the jacket was a little more fitted.  I will have to research the few other patterns in the book that are a little more fitted to see if I can adapt this pattern a little.
Too bad this jacket isn't for me.  But this project was quick enough that I should be able to whip up another in no time.  I'll be on the look out for a great fabric!


Friday, April 22, 2011

bridal shower gift :: casserole carrier


Here is another gift that I made for the same upcoming bridal shower.  This bride loves to cook, so she will make great use of this casserole dish carrier.


 This carrier is made from a single cut of fabric, quilt batting, and a lining (I used white terry cloth) to resemble a "+" shape.  You can made this carrier using 1 yard of each of the three layers.  Each of the four sides folds into the center to surround the casserole dish.  The sides are secured with Velcro.


I found the idea here at 2 Little Hooligans and used the finished dimensions to make this one.  Melanie's tutorial uses two separate rectangles sewn together, but I decided to use a single piece shaped like a "+" for mine.


Another note:  I used webbing for the straps instead of fabric.  I took 2 yards of webbing and sewed the ends together to form a circle.  I stretched the circle into more of an oval shape with two long straight sides and sewed these long straight sides to bottom of the carrier.  If you use fabric straps like the 2 Little Hooligans tutorial does, you might need a little more fabric.

This was a quick project.  I find myself truely needing one of these only about twice per year, but if I had a customized carrier in a cool modern print, I might just have to find a reason to bake casseroles more often.

Wednesday, April 20, 2011

bridal shower gift :: oven mitts

How about some new oven mitts for a bridal shower gift?  This bride loves to cook so she should really appreciate this gift.  I adore this pattern with the thumbs on the front!


I lined the mitts with terry cloth for a luxurious feel on the inside and an extra bit of protection from the oven heat.  I also have to admit that I'm getting pretty good at bias tape.  I can't believe how straight my lines are getting.


I used this tutorial from The Crafty Cupboard.  She didn't post a pattern, so I had to size my own.  Here are a couple of notes I would add to her tutorial.
  • Be sure to clip a triangle in the seam allowance where all three pattern pieces meet to reduce the bulk.

  •  It's irritating when linings slide out, so I sewed the lining and outside pieces together at the very top.  Turn both the lining and outside wrong sides out and press the backs of each (the side without the thumb piece) together.  I just zigzag stitched in the seam allowance.  Now the lining should stay inside.


And I just love this fabric.


Monday, April 18, 2011

a simple tote by request

My sister wanted a new tote.  Her requirements were simple: navy with khaki-colored straps and just large enough to fit a notebook.  Pretty simple . . . a little too simple in my opinion.


I had a hard time finding just the right shade of blue.  I was shopping in the home decor section at JoAnn's for some navy fabric, but what I really wanted was duck cloth.  I just couldn't think of what it was called nor did I know where in JoAnn's to find it.  So I had to settle on royal blue because it was the only solid blue available in home decor.  Believe me, I found so many other worthy fabrics that were neither solid nor blue for her tote, but this was a special request and I wanted to try to stick to it.

The khaki-colored straps I managed to find pretty easily.  I just used webbing.


I'm just not sure how she will like the rest of it.  I wanted an outside pocket, but I thought I would use a matching solid color since she wanted something very simple and she obviously had something in mind.  I hope these stripes don't complicate the design too much.  They might make the tote feel a little too young for her taste, but I just can't help myself.  You can buy any old solid colored tote in any old store, but I would bet a couple of hard-earned dollars that you won't find a replica of this one in stores!  Wait, maybe that's for a reason?

There is one thing I would change in this design.  There is no break between the pocket stripes and the bottom stripes.  I think I should have placed some ribbon around the bag on the seam line between the blue and the bottom stripes to give the eyes a break between the pocket and the bottom of the bag.  Its also possible that I am the only one in the world who overthinks details like this, but somehow I doubt it.


Here is the back.  Very simple.  And probably a little more of what she was looking for.  She can always wear it backwards.


And to finish the bag, I rolled the blue around the inside edge to create a bias tape look without the bias tape.  I like this method for its simple construction, but variations in the width of the roll are very noticable so I have to be very careful.  I also added a pocket inside because what's a tote without pockets?


I lined this bag with both a lightweight interfacing and quilt batting as I usually do.  This makes the bag feel like it can stand up to just about anything.  This is no flighty springtime tote.

The finished dimensions on this tote are about 10 inches long by 4 inches wide by 12 inches tall.  So at least I got the "just big enough to fit a notebook" part right.

Saturday, April 9, 2011

baby changing pad


One of my son's preschool teachers just had a baby and this is the gift we made for her.  You can never have too many changing pads and this was a perfect gift to utilize the quilt-as-you-go method.  I took the idea from table runner tutorials like the one I found here at Diary of a Quilter.


I covered this changing pad in vinyl to be sure it would easily wipe clean.  I picked up a good chunk of it as a remnant a couple of years ago and have been slowly using up my stash.  This is a little thicker than I would have liked it to be, but I have spent zero time researching vinyl choices.  I simply cut a piece of vinyl the same size as the pad and sewed the vinyl to the changing pad around the edges to hold the vinyl in place.  I'm not sure if this is necessary, but I was really concerned about the vinyl slipping around.

I also added this nice pocket for holding a couple of diapers and a small pack of wipes.  I sewed elastic at the top of the pocket to hold everything inside.


Then I used binding to hold all the layers together and conceal the edges.


This changing pad measures 12.5 inches wide by 28 inches long with about 22 inches in length of useable pad (the rest is the pocket).


I did not make a closure of this changing pad.  It holds together surprisingly well, so I didn't think it was necessary.  But I will probably try a closure on my next one just to change it up a bit.

Cute, cute!  And hopefully very handy.

Thursday, March 31, 2011

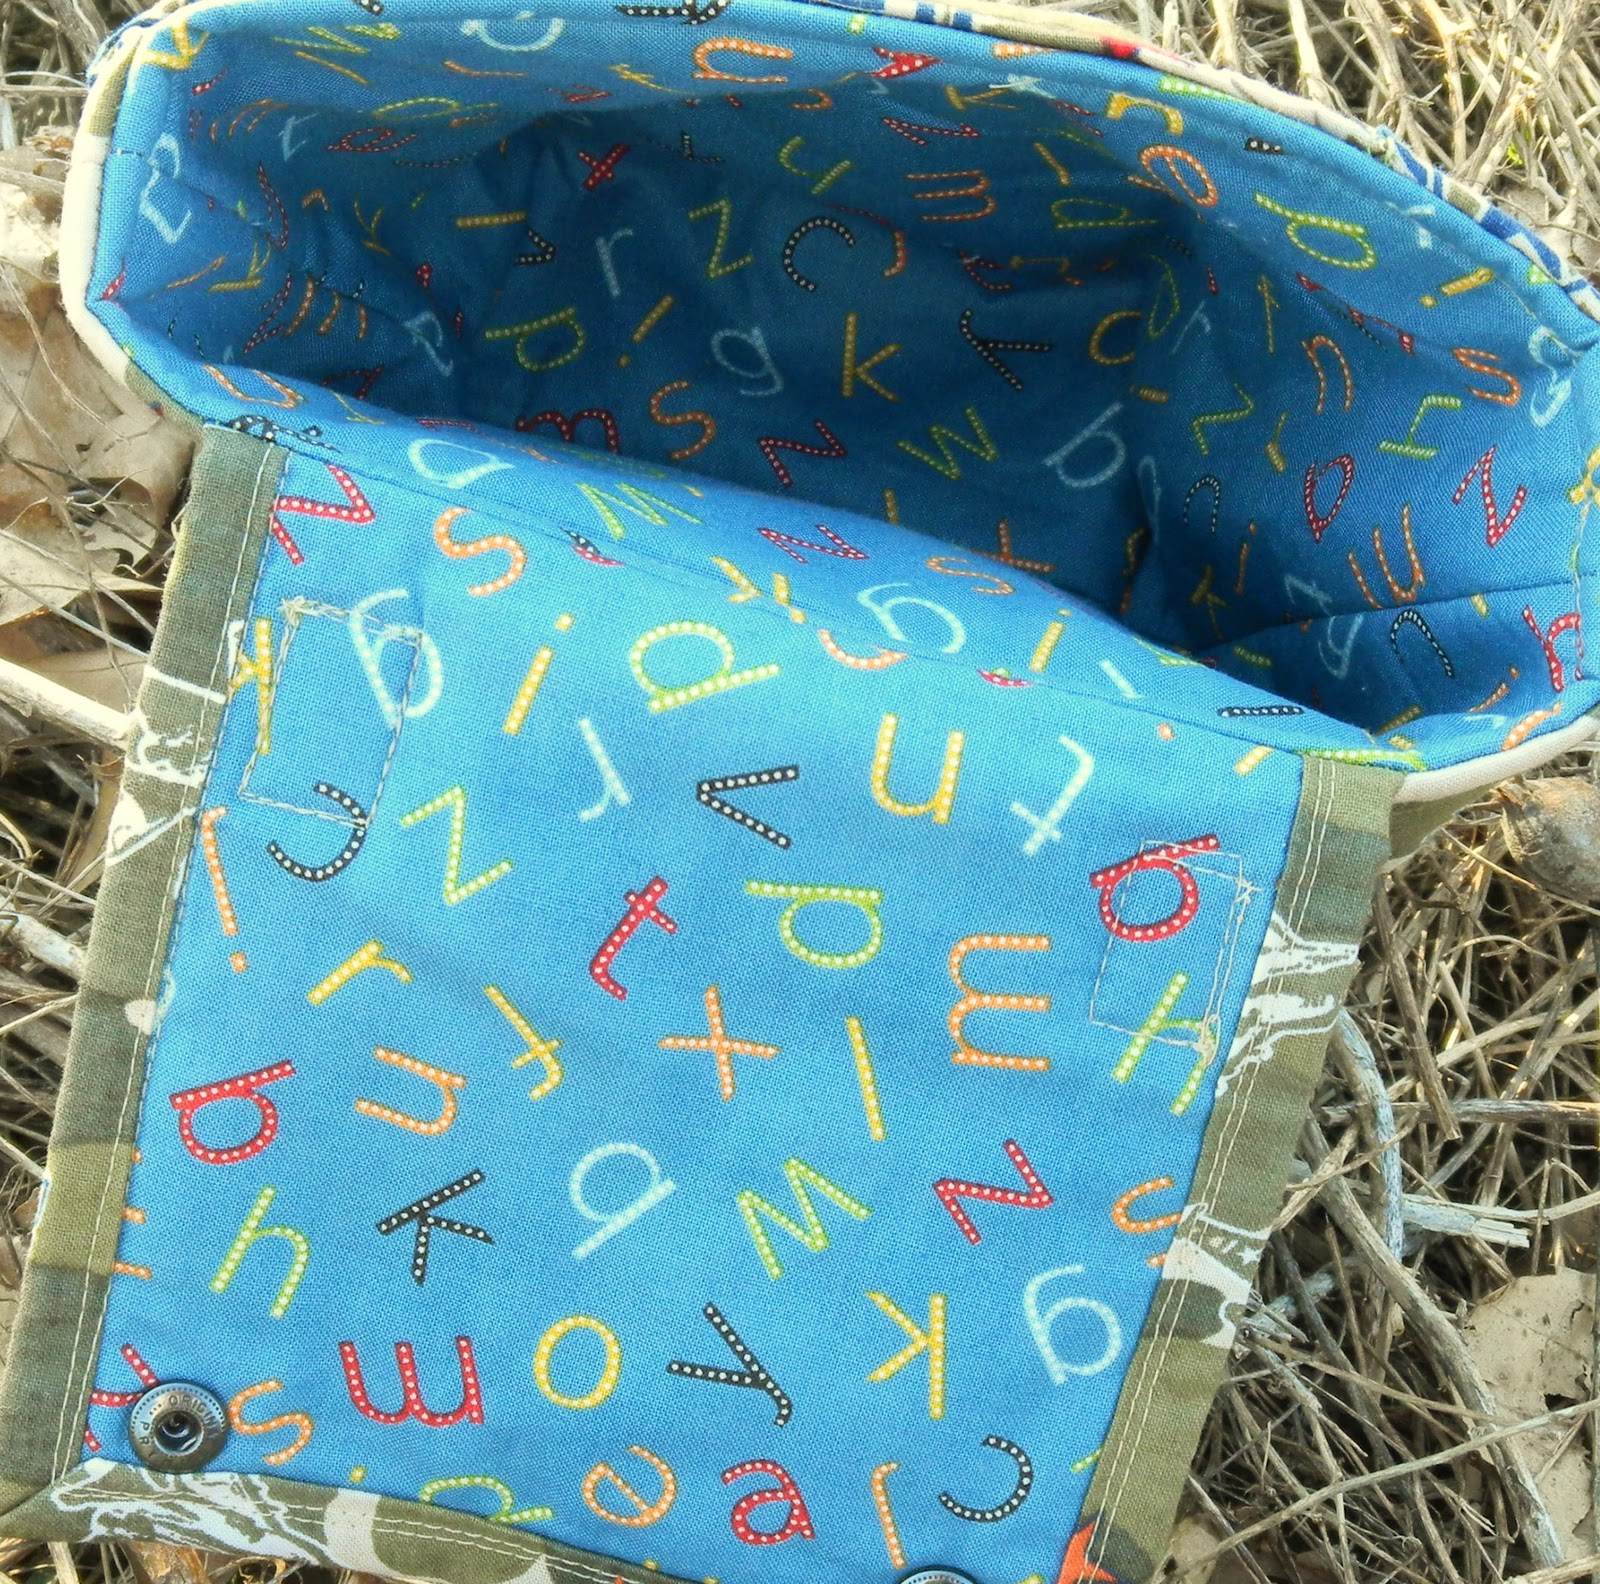
a new {preschool} lunch bag

I made this other really cool lunch bag back in August for Logan to take with him to preschool.  He helped me pick out the fabric and has been enamored with it for 7 months.

But the minor problem with this other bag just became a huge issue.  I only had 6 inch zippers on hand when I made the old bag, so the opening is a little small.  And since Lunchables have found their way to the preschool menu, that small zipper opening causes a really tight squeeze (so much so that he has to ask for help unloading the bag).  So I decided it was time for a new one.

And when I showed Logan this baby, he finally agreed with me.


I really like how cute this bag looks.  I didn't like it at first.  The top flap is a little narrower than it should be and the bag was originally a little taller.  The bottom dimensions were supposed to be 6 x 4 inches but ended up at 5 x 5 . . . close but not quite right. 


I tried to compensate for the two layers of low loft batting that I added to the inside for extra weight by making the lining a little smaller than the original outside dimension.  But I overcompensated and ended up with extra fabric on the outer layer that I had to try and ease in.  I'm still working on my ratio of lining to outer dimensions.


Despite all these problems, it really did turn out pretty cute for a little boy's lunch bag.  And it does fit Lunchable boxes, so at least it meets the demand.  Logan says it's a keeper.


Tuesday, March 29, 2011

shamrock shirt {happy st. patrick's day}


Here is another boy's t-shirt that I made from t-shirt scraps.  I just love creating t-shirts for my boys.  When I asked my 5-year-old if I could make him a shamrock shirt for St. Patrick's Day, he told me that I can make him everything that I want to make him.  He even prayed during grace that God would help me make one.  He is such a great audience for my projects.

Now that I've drafted my raglan sleeve patterns for my two boys, I spend much of my time things of new details to add to make the shirt unique.

In this shirt, I added not only a shamrock from a green knit, but also green stripes on the sleeve.  These were very easy to add with the help of double sided fusible web.  I used the kind sold by the yard that I use for all my appliques, but I know similar stuff comes in rolls that is more likely used for hems and bias tape.  That stuff would probably have worked great here.


I actually ran out of black t-shirt scraps for the sleeves, so I decided to go with the "mock double-shirt sleeve."  I used scraps from a white t-shirt to continue the sleeves.  I just sewed them to the short sleeve hem on the inside of the sleeve.


The best part about the construction of this shirt is that I was able to use all existing hems.  There are 5 hems on this shirt: one on each short sleeve, one on each long sleeve, and the bottom hem.  And I didn't have to sew one of them.  I really don't mind sewing hems, but it does cut down on completion time.


I really do like the details on this shirt.  This is a new twist on my favorite shirt pattern proving just how versitle one pattern can be.