Friday, June 29, 2012

a knitted bear {or something like that}


Does this look like a bear?  I'm not so sure.  I purchased this pattern from BjfromNV (she has some really cute patterns . . . I just love the zebra, too), but I confess I didn't not follow the pattern completely.  I have this compulsion where I can't just follow a pattern; I have to change it here and there to make it original.  I've never been able to follow a pattern to completion without somehow altering it and I'm certain I never will.


I followed most of the written pattern, but I changed the nose and ears.  I didn't like the way the nose originally turned out.  I wanted a little more definition.  So I just re-knitted it in my own way.  The change in the ears was more of a necessity because I can't figure out the kitchner stitch.  I'm sure that since the ears were the last part I knitted, I was just tired of trying.  So, I just crocheted the ears which was super quick and easy.


My favorite parts about this pattern (and why I chose this pattern because there are soooo many bear patterns available) are the bear's feet and the assembly of the bear. 
  • The bear's feet look much more like actual paws than any other pattern I've seen.  Most legs and paws are just a cylinder with little definition.  I like the character that these paws give the bear.
  • This bear is knitted in the round and stitches are picked up from pieces already knitted to start new parts of the bear.  This means no sewing individual bear parts together: genius!  I do love to sew but when it's unnecessary, I would much rather skip it.
I used Lion Brand's Fishermen's 100% wool in Oatmeal for the bear's body.  For the darker brown accents I used I Love This Wool (100% wool) in Cocoa from Hobby Lobby.  I liked knitting with wool and I prefer the finished look of wool to acrylic and cotton.


Whether you think he looks like a bear, a mouse, or some kind of hybrid, this little guy found a good home.


Monday, May 14, 2012

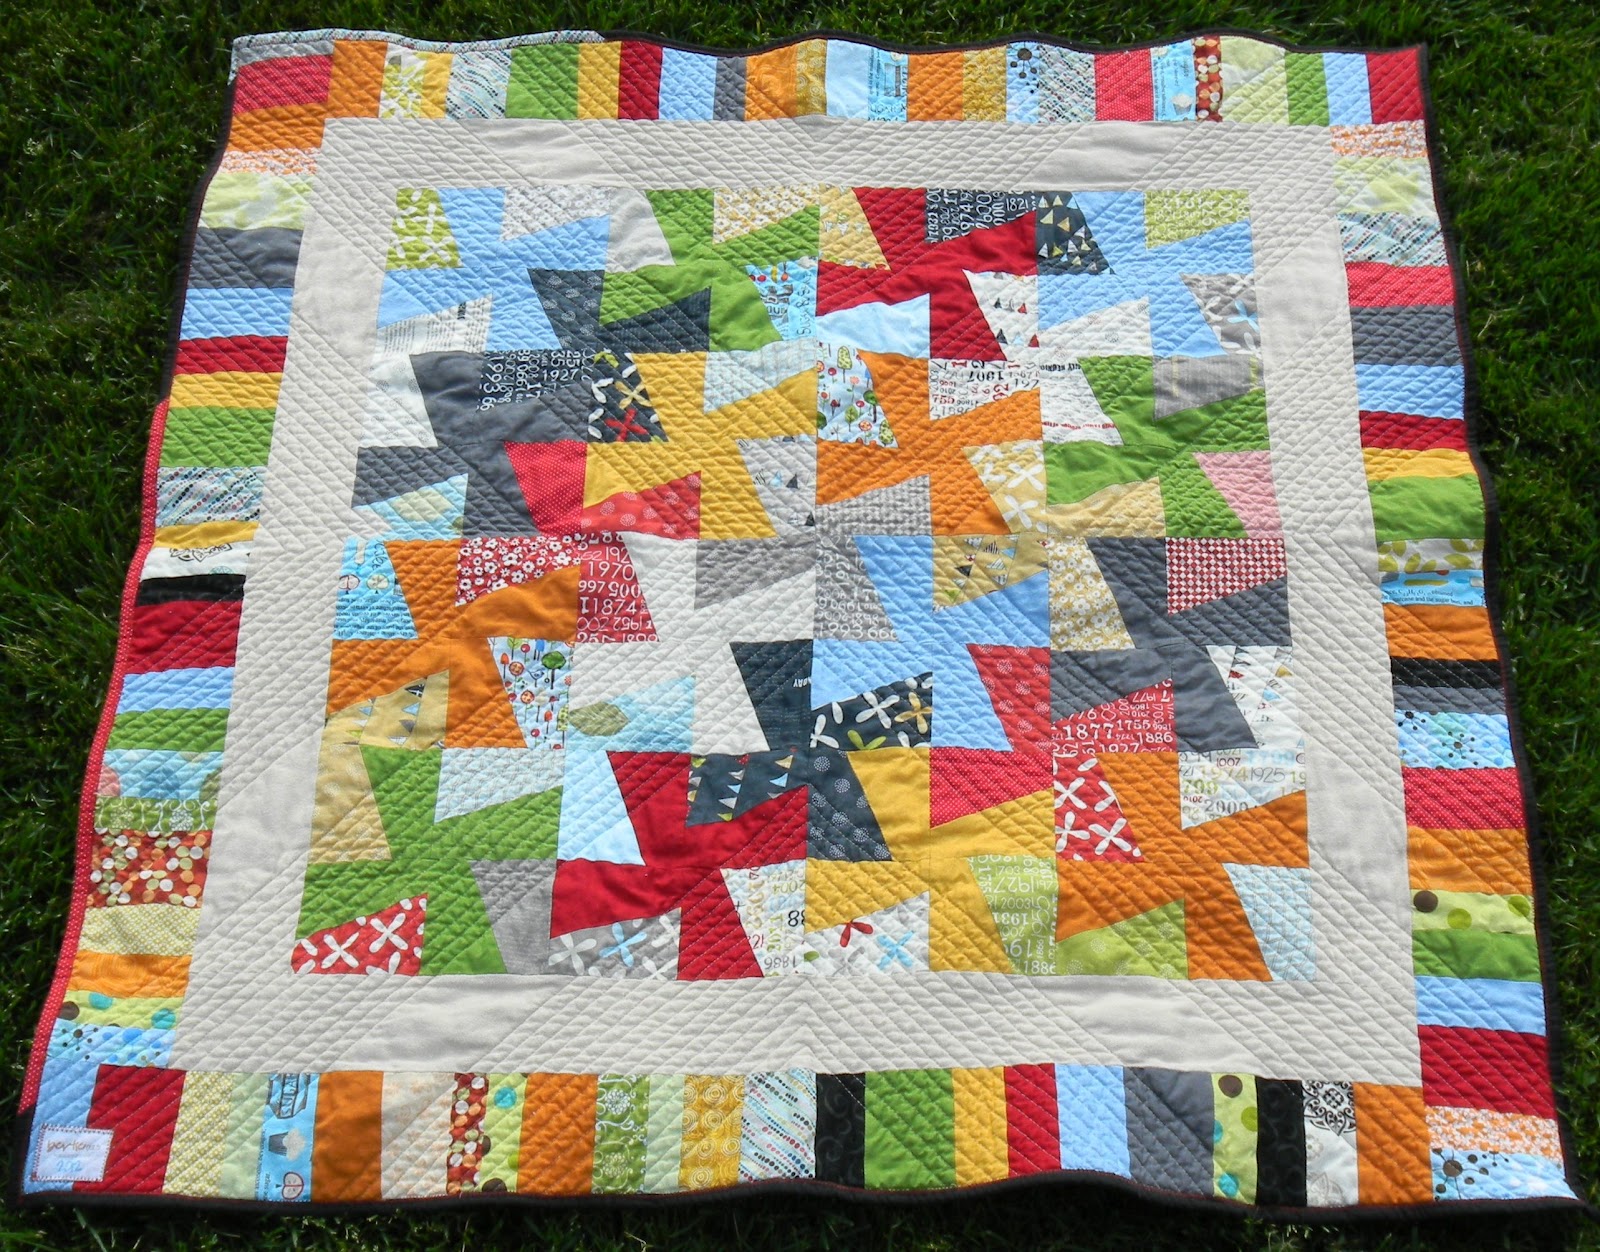
a rainbow of whirlygigs {a quilt}


When my oldest son saw the Petal Patch quilt I made for myself, with all it's bright (pink) colors, he tried to claim it for himself.  In fact, both of my boys tried to claim that quilt as their own.  But with as much as I give up to make my boys happy, that quilt was non-negotiable . . . it's all mine.

So to ease the pain, I promised to make Logan a new quilt just his size.  He told me that his new one had to be exactly the same as mine.  Since I knew dad wouldn't go for that, I decided on something very different.  I had a highly coveted Reunion by Sweetwater charm pack from my last run to the quilt shop that I decided to give up for his new quilt.  I knew I wanted a whirlygig or pinwheel type of quilt, so I just started cutting.


It wasn't until after I had cut all my charm squares that I did some research on these types of quilts.  I had no idea that many tutorials teach to sew the squares together in a grid and then re-cut to make the whirlygigs.  Since I had already cut my pieces, I stuck with my own idea of how to make the squares.  The usual way (if there is such a thing when it comes to custom quilts) may have been faster, but my way ended up working out just fine.


I decided to mix in a rainbow of solid colors as the offset to the Reunion whirlygigs.  I think the solids actually ended up taking over.  I even added another "rainbow" as a border to give the quilt even more color.  It's certainly a fun and colorful quilt and just right for a 6 year old boy.

Since this quilt measures about 44 x 44 inches, I was able to make the backing out of a full yard and a half of this airplane fabric.  I'm all for scrappy backings, but sometimes you just want something quick and simple.


I quilted in an X sort of pattern with each line 1/2 inch from the other.  I've had this pattern in my head for a while, but I always came up with an excuse not to use it.  This time, I just decided to take the plunge with and, in hind sight I guess, I could pretend that I went with an X to coordinate with the shape of the whirlygigs.  No one really needs to know that this was just a coincidence.

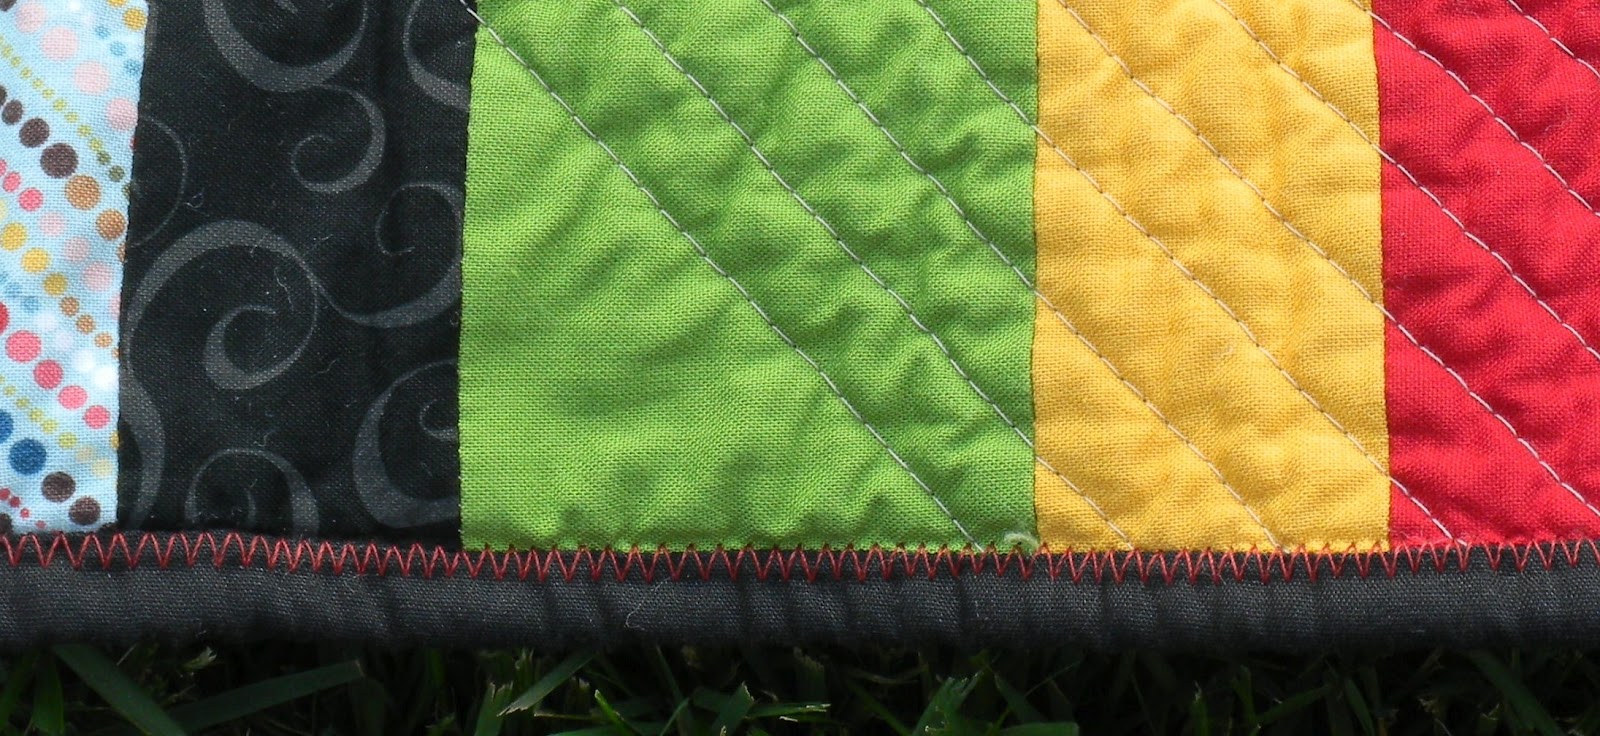
For the binding, I decided not to hand sew this time.  I found this neat technique by Stitched In Color.  She zigzags all of her quilt bindings.  I thought that for this fun boy quilt the technique would be perfect.  The only thing I changed was that I sewed the binding to the back first and then folded the binding around to the front.  This saved me a lot of time because I was able to control the look on the front of the quilt.  I'm sure that there are many quilters out there much more familiar with machine binding who could do a bang up job the way she did it, but I'm not one of them . . . yet.


Thursday, May 3, 2012

little boy slippers


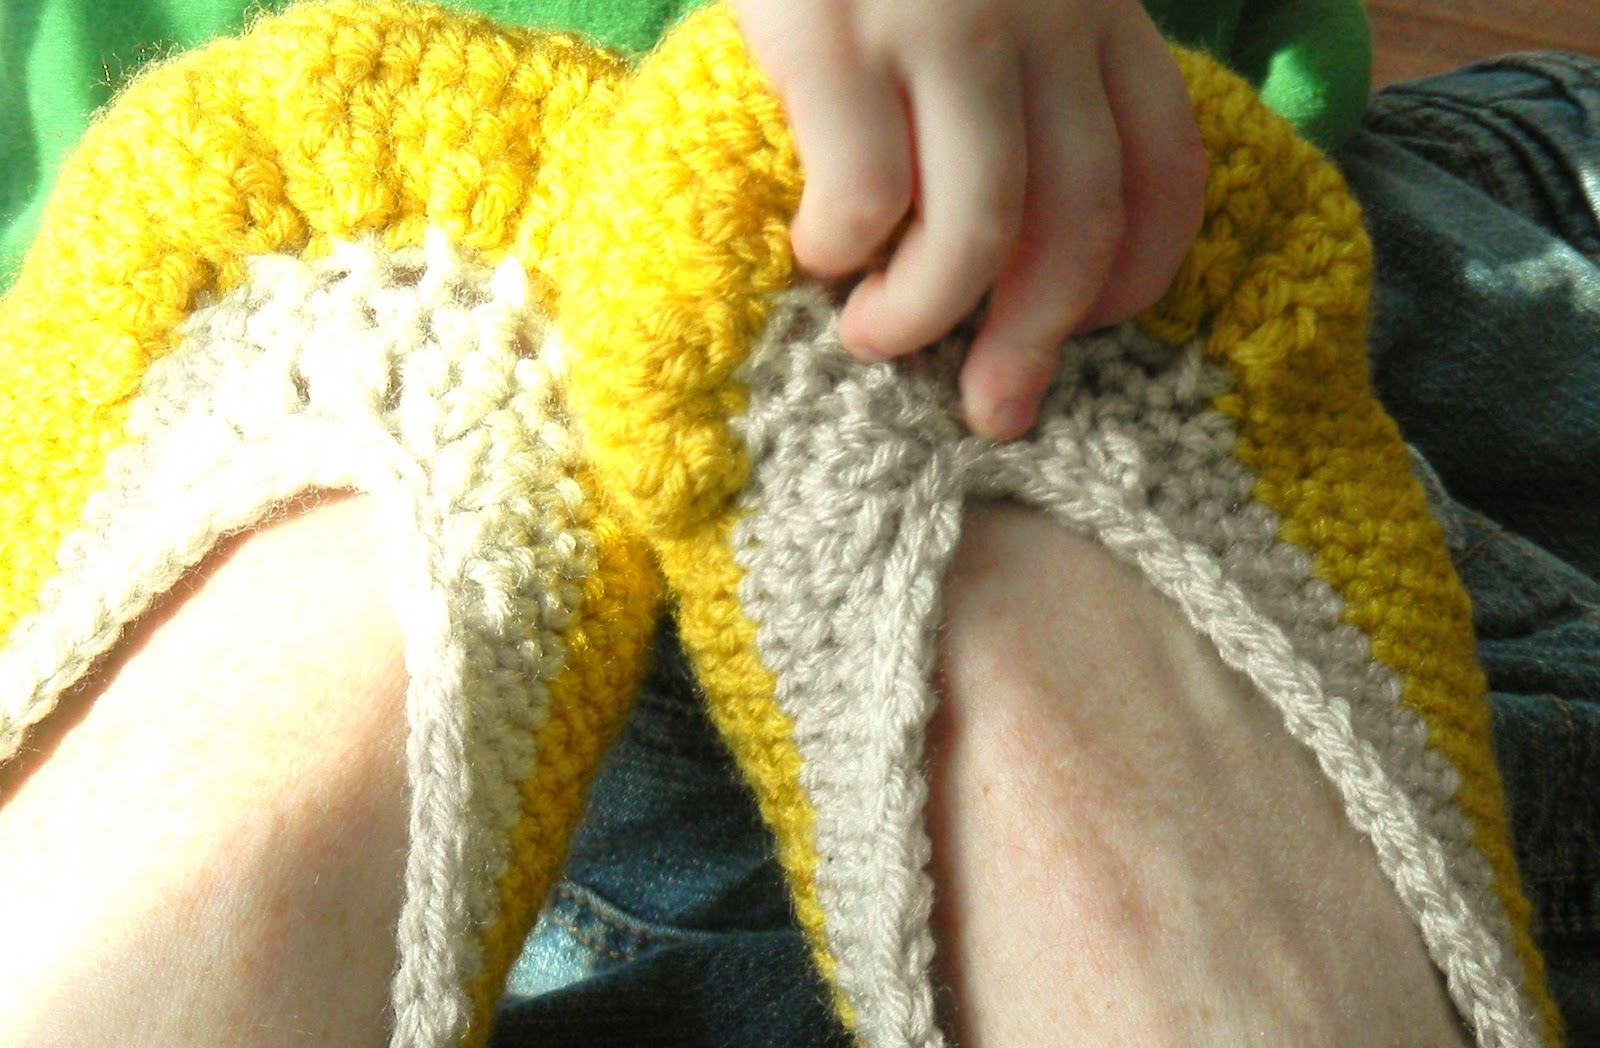
Here is another forgotten project.  I crocheted this for my 3-year-old this winter but, for some reason, I never posted them.

I used the Modern Baby Loafers pattern I purchased from Holland Designs.  She is a very talented designer.  These loafers are super cute, but either I didn't follow the pattern correctly or she doesn't make corrections on the top part for larger feet.  These still turned out okay, but I'm afraid they will fall off 3-year-old feet.  One-year-old feet can probably handle the style.


Tuesday, May 1, 2012

small crochet cowl


This is really the last thing you'd like to see in Spring, but I realized that I forgot to post this several months ago when I made it.  I only had this one photo and I was going to wait to post until I had more, but that ship has now sailed.

This cowl is nice and snug.  No need to wrap it multiple times.  It just fits snuggly around the neck and is tall enough to cover the mouth and nose if needed.  I used bulky yarn so it worked up really quickly.  If you plan Christmas gifts really early (unlike me who waits until Dec 1 to start planning), then put this on your To-Do list.

I believe I used this tutorial from Crochet In Color, but I crocheted in the back ridges of the half double crochet and joined the rounds for a knitted look.  If you crochet, this is a lovely blog.  Her designs are modern and many of her patterns are free!

Monday, April 16, 2012

a lunch bag {patchwork style}


I have made a few lunch bags for Logan, but I never attempted one for me.  Since I just started a new job, I thought it would be fitting to bring a new lunch bag along with me.

I used this tutorial by Ayumills from Pink Penguin, but I added some patchwork.  This lunch bag is really unique and I love the drawstring cover that helps keep everything inside . . . especially if I fall.


At first I thought the bag might be too small to fit all my food, but thankfully I was wrong.  As long as my tupperware stays properly portioned for one, everything fits.

This project took me all day.  I'm talking at least 6 to 7 hours.  This project could certainly be made in less time, but I spent a lot of time ripping seams and getting everything just right.  If I was going to spend the time making something for me that would give me happy giggles at work, I was going to do it right.


I used linen for most of the outside and quilting cotton for the patchwork, straps, and cover.  The only thing I did differently than the tutorial was to double the length of the cover so that it could be folded in half and show the right side of the fabric from both the outside and inside. 

For the interior lining, I used two red placemats that I found on clearance at Target.  I wanted the interior to wipe clean of any spills on the inside.


I just love this little bag.  It's pretty and sturdy and really fun to cart around.

Friday, April 13, 2012

pleated purse


I found another use for the wool I bought at the Salvation Army fabric sale a year ago.  This wool purse was made using a the Folklore Bag pattern from One-Yard Wonders.  I used knife pleats instead of a large box pleat (more of an oversight than a calculated decision), but I don't think it made that much of a difference.  The use of black is always a good choice for moms, especially moms of boys, because dirt can hide and stay hidden.


I only had 2/3 of a yard of fabric, so I used some quilting cotton for the inside of the purse.  This is always a fun decision anyway.  I used some Hometown by Sweetwater to make a large pocket on one side and two small elastic top pockets on the other side, perfect for holding two Playtex sippy cups.


This purse is the perfect size to carry a small amount of stuff and still be able to find everything.

Monday, April 9, 2012

wool work skirt {elastic waistband}


 This time last year I bought a ton of fabric an annual Salvation Army fabric sale.  I came home with over 20 yards of fabric for about $60.  Certainly a steal, but it was all wool and polyester blend fabrics that work much better for clothes than for quilting.


So once I heard it was that time of year again, I thought it was high time I actually break into that year-old stash.  I needed a new skirt for work so I decided to a use this woolen; I'm still not sure if the color is more navy or black, but it's definitely gray.  For those of you for fashion inclined than I, I want you to know that I aware that I am one season too late with this garment.  That's really no surprise.

For the most part, I used Simplicity pattern #2698 view I except that I ended up only using 2 pleats on both the front and back instead of 3 after trying it on.  I used knife pleats as the pattern called for, but I stitched them down 5 inches from the top of the waistband.  This took the skirt in a little more but allowed the skirt to flow better on the bottom half.  The real reason I used the pattern was so I could work out the pockets.  I just love the practically of pockets in a skirt.


I also nixed the fitted waistband and added a 3 inch wide elastic waistband in its place.  This was the plan all along.  See, I have this baby bump to work around and the whole point of making a new skirt was to make one that would grow along with me and (hopefully) fit me after October, too.  Beware the addition of elastic, though, especially with thicker fabric.  I have a small bunch in the front part that sticks out a little but wearing a longer shirt takes care of the bulge.

So this skirt is an overall success.  I would make this skirt again, but I would use a fabric that flows better.  At the wrong angle, the skirt makes me look about 4 sizes bigger than I actually am . . . but I suppose that could be the baby bump, too.


Saturday, March 31, 2012

petal patch quilt


This quilt is all for me...

or so I tell myself.  My youngest has already claimed this as his own. The good news, though, is that it's too heavy for him to carry around.

Living in a house filled with boys doesn't give me much chance for pinks and pretty flowers.  Not that I was ever really into either of those things, but after you've been surrounded by dirt and weird smells for a while, you start to crave the prettier things.


I picked up a charm pack of Puttin on the Ritz at my local quilt shop because I love the combination of pale pinks, light blues, and soft grays.  For the center and corner blocks, I used the disappearing 9 patch technique but added a little sashing in the middle.  To offset the subtle colors in the charm pack, I added a bold red to the corner blocks and a bright green dot fabric to the center.


On the other blocks, I used scraps to create a petal design.  Once I was happy with the design, I used the first one as a template for the others and just rotated the blocks.  I love the fun and vibrant colors in these petals.  If I was going to make this quilt again, I would use the same type of bold colors on the patchwork blocks to give it even more color.

Deciding on the quilting technique was easy this time.  I knew I wanted to draw attention to the petals using a growing outline design (I outlined the petals over and over again moving further out each time).  Then to mimic the petals, I used a meandering petal design on the patchwork blocks to help them blend into the backgroun and bring even more attention to the petal blocks.


I finished the quilt top with a gorgeous pink flower print border.  I found this at JoAnn's and now I wish I would have bought more.  It's a perfect pink color for me . . . not too bright and not too pink.

For the binding, I chose a gray dot fabric.  I almost when with blue to try to offset the pink and bring out the blues in the quilt, but I am so glad that I changed to gray.  The gray allows the focus to remain on the quilt top and doesn't steal away any attention.  Plus, dots are my favorite print for binding.

This quilt has already nursed me through a terrible ear infection, so it's definitely a keeper.


Here is what happens when you face the wrong way during the photo shoot.  But what a cute little bugger trying to help me hold up the quilt.


This quilt measures 55 inches by 51 inches.


Sunday, February 19, 2012

modern boy tumbler quilt


How's this for a modern tumbler quilt?  I love this quilt.  I started making it for friend who had a baby last autumn--just so you know, I'm never on time with handmade gifts and I've accepted that.  Because she's not a really close friend, I decided not to splurge on fabric and use only scraps and other stuff from my stash.  But as I got further into the process, I realized that i. love. this. quilt.  How could I possibly give it up when the colors flow so well together and it brightens every day?

Let me repeat, she's not a really close friend.  During the process of putting this one together, I also read a post that discussed handmade gifts and the appreciation of the recipients.  It would be an incredible tragedy to gift someone with a handmade treasure like this that took so much time and thought only to find that they don't appreciate it nearly as much as you would have if you'd have kept it.  So far, I have only given these kinds of gifts to family and a few close friends who I am certain appreciate the love that I put into the project.


So does that justify my selfishness for keeping this one?  Maybe not, but since it was my time and energy, I have complete control over the destination of this quilt.  And since my 3-year-old, who typically couldn't care less about something I've made him, lit up with excitement when he saw this one and asked if he could have it immediately, there is just no better place for this one to go.

When I first became obsessed with modern quilts, I realized that most modern quilters didn't use borders.  That's actually what intrigued me about modern quilting.  But the more I quilt, the more I find myself attracted to quilts with borders.  A border frames the quilt design and, I think, brings more attention to it.  I'm not saying that borders are necessary all of the time--I've seen so many lovely quilts without borders--but I do think I will be using them more often.  A quilt with a border looks more like a photo inside a frame and I really like that look.


For the backing I used this dot fabric from the "Wild Cat Woman" line by Loralie Designs.  It's just greyish fabric with black dots, but once you know what it's called, it certainly does look a little girlish . . . but don't tell the boys.


I quilted this one by first outlining each column of tumblers and then quilting inside each column following the same outline.  I then quilted around the border with a few straight lines on both sides.  I didn't quilt inside the border because I wanted it to pop out of the design.  Very simple as far as quilting methods go.


This quilt measures 36" x 36".
It's just lovely . . . and it will definitely be well appreciated.


Thursday, February 2, 2012

a pair of {feminine} slippers


I just love these slippers!  They are so cute and they worked up pretty quickly.  I purchased the crochet pattern from Holland Designs, the same place I purchased the pattern for this hat.

The pattern doesn't call for a color change, but I think they turned out really great.  I just love the yellow and gray color combination (again, I'm probably behind the color trend here since gray and yellow popped up at least a year ago).  Such a nice transition.  And this button strap is super feminine and functional; the slippers really stay put.


I made a couple of other changes to the pattern, too.  I took in the one side of the soles a little in the middle so they would resemble feet better.  What's funny about that, though, is that I reversed the shoes when I added the strap so it's like I'm wearing them on the wrong feet!  But I can't tell at all, so maybe this adjustment was unnecessary.  I also wasn't too excited about single crocheting the sole, so I double crocheted instead to work them up faster.  I love the result.


I may try to add a faux leather sole so the slippers don't wear out so quickly.  I have no experience with hand crocheted slippers, so I'm not really sure how long it would take to wear out the sole.  But I'm not willing to take the chance because I adore these.


I've been thinking that I might need another pair so they won't wear out so quickly . . . I have plenty of other color combinations in mind.